Act on the first recovery failure
- Choose the first health or protection failure that made the run unsafe.
- Choose one source that is currently available. Do not select a wish list.
- Take the Default action and keep the rest of the run setup unchanged.
- Use Alternative only when its stated condition matches what happened.
This guide covers Full Release 1.0. It does not calculate healing from current HP, Max HP, damage, bonuses, stacks, or a live cooldown. Those inputs are not enough to support a dependable result here. Each answer stays within the source’s listed effect and values.
Choose one Recovery action
Choose the next recovery action
Choose the first recovery failure and the one source currently available.
All 32 failure and source answers are expanded below when scripts are unavailable.
Health is missing between contacts · Health regeneration
Default: Create space now and let the available Health regeneration restore health before the next contact.
Reason: A statistic that is a measure of the rate at which health is naturally restored. Its listed effect does not give an exact tick schedule.
Premise: Health regeneration is the one source currently available, and its current role is passive healing.
Cost: Waiting or attacking from safety can reduce immediate damage and collection speed.
Alternative: If health still falls while this source is active, change the failure to recovery cannot keep pace.
Check Health regenerationRead the answer in order
Default is the next action to take. Reason explains why the selected source fits, or does not fit, the failure. Premise states the one-source condition the answer needs. Cost names what you give up. Alternative tells you when to change the failure instead of forcing the same answer.
Keep the Arena, mode, difficulty, squad, and selected source fixed while checking this failure. Apply the Default response, including its immediate movement or contact instruction. If the first failure changes, run the decision again with that one new failure.
Know what each source can do
has a base restore of 200 HP. The amount actually restored can vary, so this guide does not calculate it. Health regeneration restores health naturally, but its listed effect does not give an exact tick schedule.
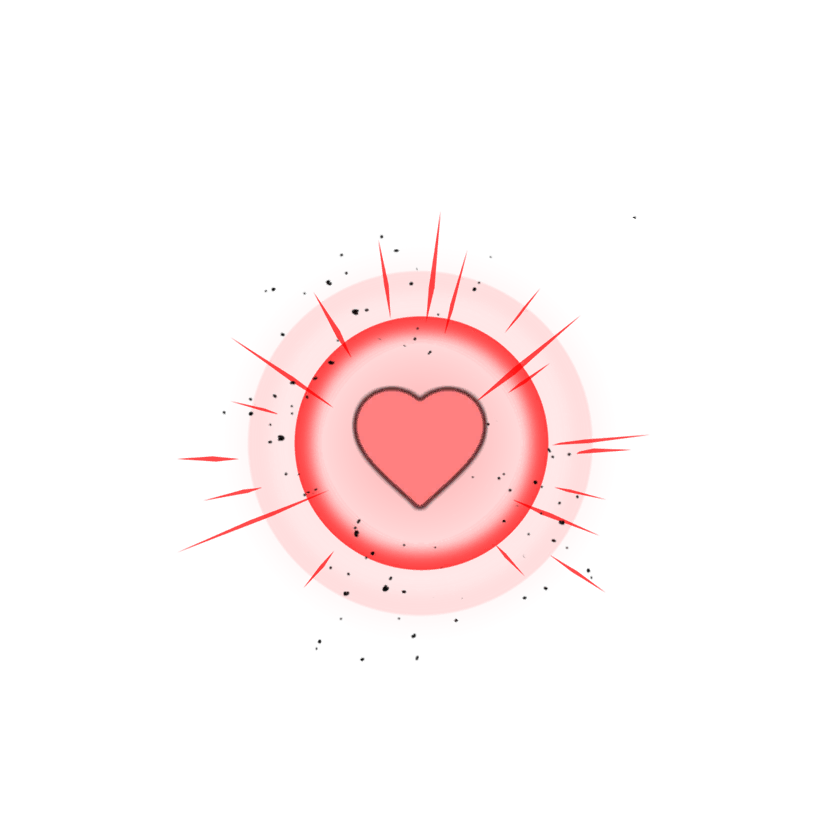 Healthpak
For , , or , open that Item to check the full effect. Plot Armor says that a killing damage instance leaves 1 HP and gives the effect a 60-second cooldown. Jewel of Life says it revives at half HP and then breaks into Jewel of Death. Choose only the one Item you can act on now.
 Vampire Survivor
 Plot Armor
 Jewel of Life
has four recovery levels. Level 1 restores 10% of Max HP with 1.5 seconds of immunity. Level 4 restores 40% with 3 seconds of immunity. The base recharge is 120 seconds.
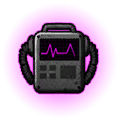 Resuscitation
Its two final branches remain part of that same Ability. adds its listed collection effect and revive values. lists a change on each resurrection and a five-activation cap. The guide does not calculate an accumulated Max HP or damage result from that description.
 Resuscitation: Hoarder
 Resuscitation: Valhalla
Do not invent a protection priority
The listed fatal-hit effects do not establish a verified order when several protections could apply. If a fatal hit passed through, check the one selected source and verify that it was still held or available. Do not assume another effect consumed the hit first.
The same limit applies after a protection has fired. A stated base cooldown is not a live remaining-cooldown calculator. Resuscitation level changes, Cooldown Reduction, and instant refreshes are not used here to predict when the next activation will occur.
Check the selected source
Every Item or Ability answer links directly to that source. Open Vampire Survivor, Plot Armor, or Jewel of Life for its complete effect and relationships. Open Resuscitation for all four levels and both final branches.
For Healthpak collection and spawn questions, use the ground-pickup guide. For repeated damage or a single large hit, use the Enemy diagnosis to inspect the threat that caused the first unrecoverable loss.
FAQ
Why is there no healing calculator?
Current HP and a source name are not enough to prove the final heal. The guide gives a supported action and links to the Item or Ability for its complete effect.
Which protection activates first?
The listed effects do not establish a verified order across different protections. Select the one protection you expected, verify its condition, and avoid another lethal contact until that condition is true.
Does Cooldown Reduction shorten Resuscitation?
This guide cannot determine that from the listed effect. Use the 120-second base recharge as the known value; the remaining time is not calculated here.
What if I have several recovery sources?
Choose the one source you can act on now. The decision gives one answer for that source. If it does not match the first failure, use the Alternative line and diagnose the failure again.