First-run route
Default: lead and learn the path.
 SWAT
SWAT Pistol
Reason: one projectile and a visible magazine cycle make a hit, a miss, and a reload easier to identify.
Premise: this is for a new or lightly progressed Full Release 1.0 save, without a mission condition forcing another job.
Cost: the Pistol loses part of its recorded damage bonus as targets move farther away, so spacing mistakes become part of the lesson.
Alternative: take when you want to learn a close-range spread, or when repeated hits and electric control are easier for you to follow.
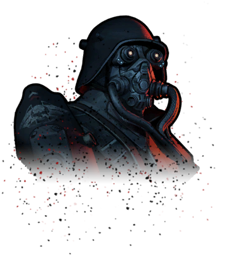 Tank
Tank Engineer
- Pick the opening attack you can recognize on screen.
- Move through open space while your Survivor aims and attacks.
- Improve one weapon path before adding several unrelated attacks.
- Use SOS choices to add a missing job, and take Liberate when no offered recruit improves the run.
- After the run, choose one result to test next time.
Mission objectives, modes, and high Torment settings can change the job the squad needs. When one of those conditions is the reason for the run, let it override the default above.
Choose a readable opening
Your first available leaders are , , and . Pick by the attack you want to learn, not by a universal rank.
is the default because the fires one projectile and has a visible magazine cycle. Stay close enough to benefit from its recorded range profile, watch one shot connect, and notice the pause when the magazine reloads. Open SWAT’s complete Survivor record or the Pistol record when you need its exact current fields.
Choose instead when a close-range spread is the lesson you want. The sends several projectiles from a one-shot magazine, so a partial miss is easy to notice. Choose when you would rather learn repeated attacks and electric control through the . Its larger magazine changes the rhythm, but it does not remove the need to read distance and positioning.
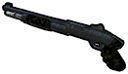 Shotgun
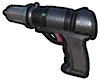 Taser
TaserDo not choose from a row of theoretical totals. Open one Weapon record when a field matters, then use the run to answer whether that attack shape is readable at the spacing you can actually hold.
Read the first cards
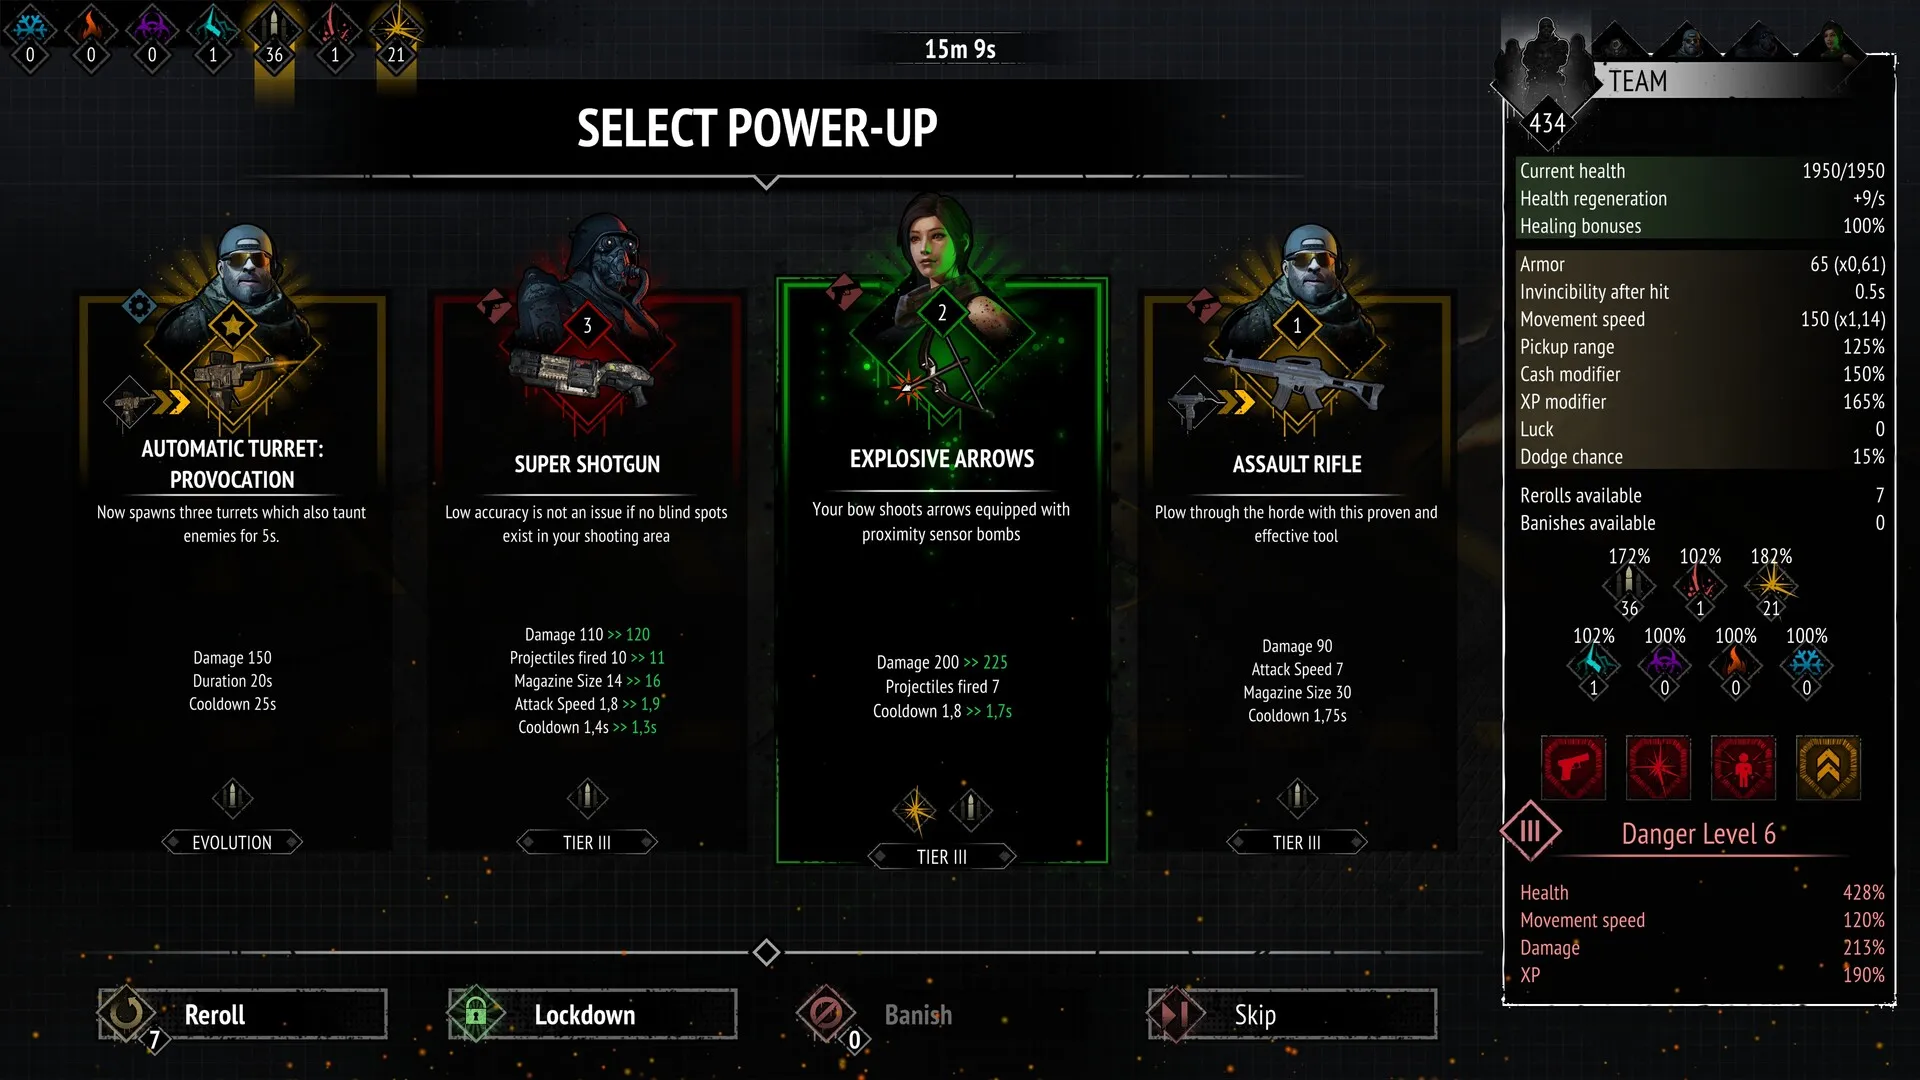
The squad handles aiming and attacks. You handle movement and upgrade decisions. Read each choice before committing to it.
- Read whether the card adds a new attack or improves one you already have.
- Prefer an upgrade to your visible opening weapon while you are still learning its rhythm.
- Take a new ability when it solves a problem you can name, such as enemies closing the gap or too little coverage.
- If the branch is unfamiliar, open Zombiepedia and preview where it can lead.
Focusing one path is a learning method, not a hidden requirement. It gives you a before-and-after comparison. Splitting early can still work, but it becomes harder to tell which choice changed the run.
A later Weapon tier replaces the active Weapon instead of adding another level to the one you had. Before taking an unfamiliar replacement, open the Weapon replacement guide to see which in-run and permanent bonuses stay with the earlier Weapon. Ability branches follow a different inheritance rule, so do not apply the Weapon shortcut to them.
An Item Chest is a separate decision from these upgrade cards. It offers a run-long Item that occupies Item inventory space. Ground Healthpaks, experience, Cash, Magnets, and Timed Power-ups use another pickup system. Use the ground pickup guide when one of those objects stops appearing. If an Item you unlocked never appears in a chest, use the Item Pool guide to check mode access, pool state, and the one-copy carry limit before blaming bad luck.
Recruit two teammates
Completing an SOS interaction can open up to two eligible recruit choices plus Liberate. It does not guarantee that two candidates are available, and Auto-Selection can choose a recruit or Liberate according to its setting. Stop recruiting when the active squad reaches three Survivors: one leader plus two teammates.
Choose the first recruit for a missing job. If the opening attack already clears a lane, look for control, recovery, or coverage elsewhere on the screen. Choose the second recruit after you can explain what the first one added. Copying a saved three-person squad before its pieces appear can leave you rejecting useful cards that are already available.
Use a mention such as or for a quick reminder. Open the Survivor roster when you need to inspect a complete kit before the next run. During the run, the offered card and its description take priority over a plan made from the roster.
 Medic
Medic Mechanic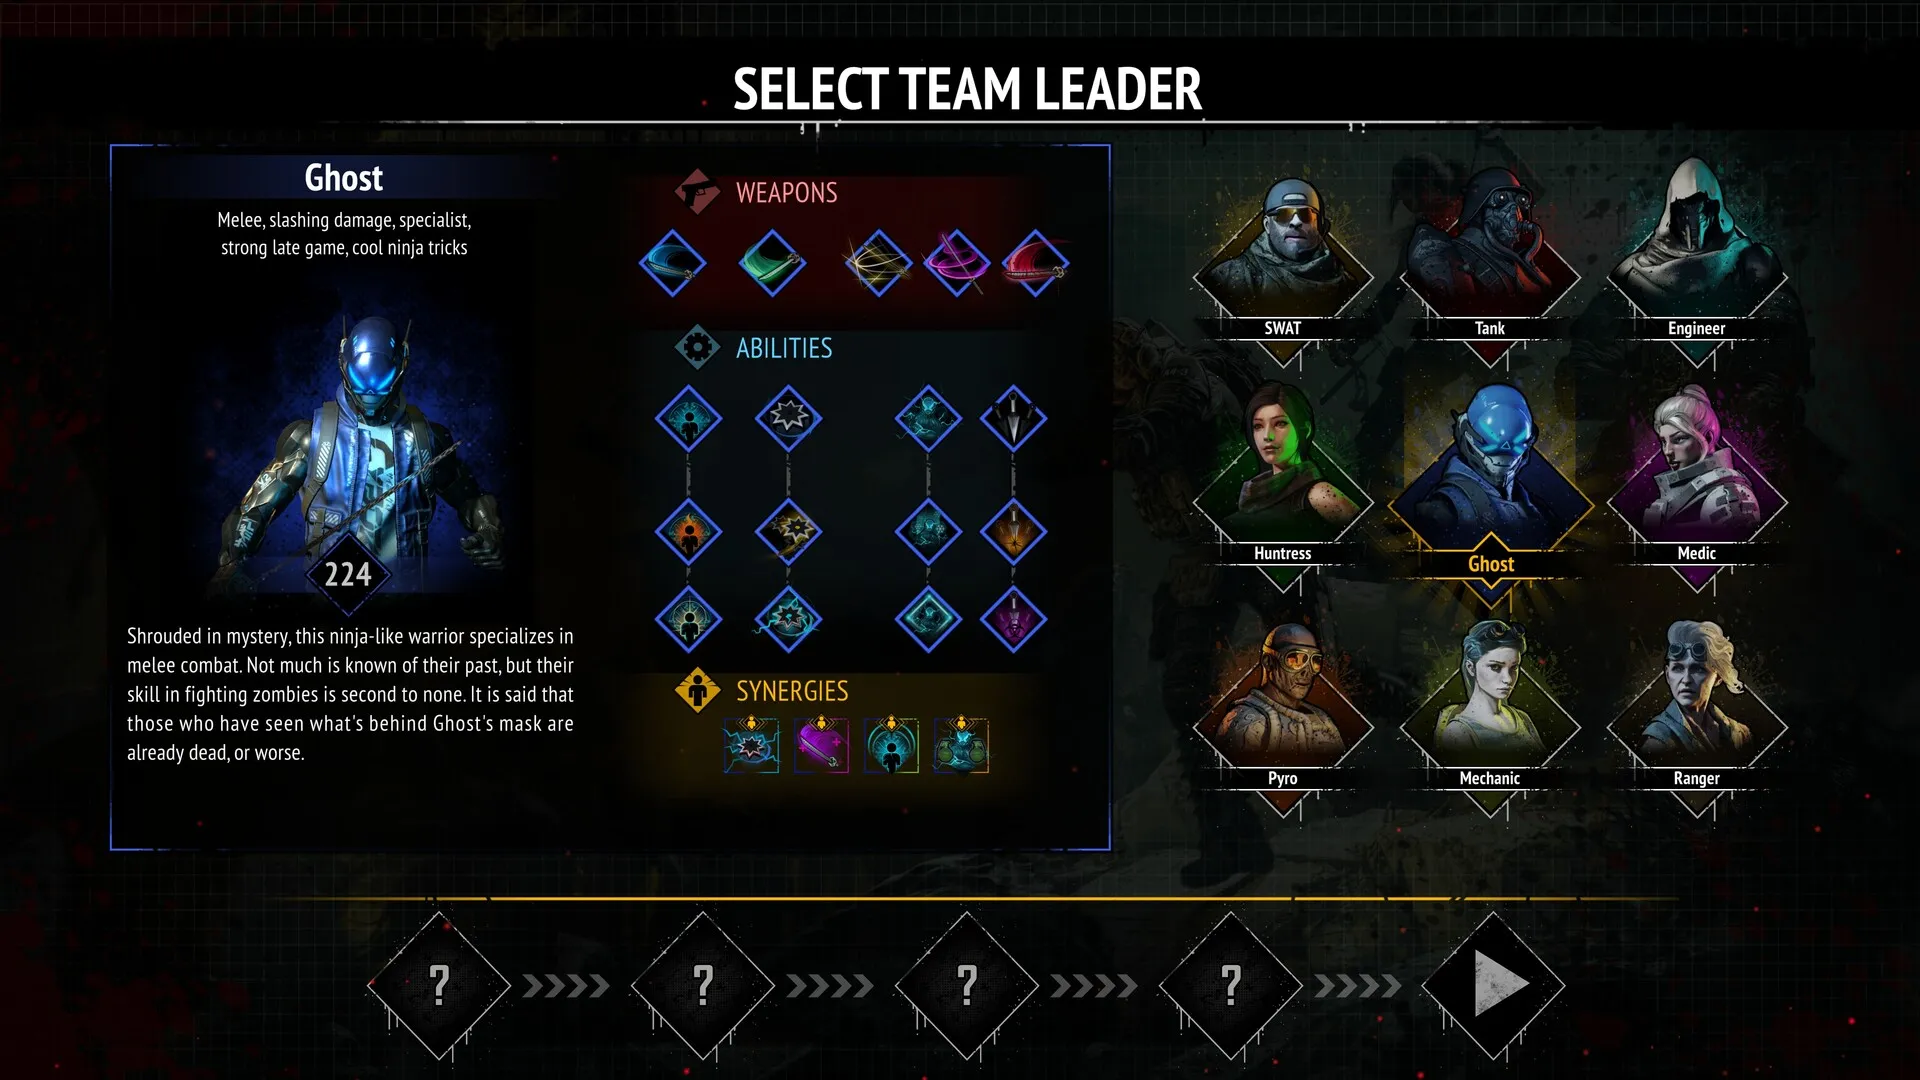
Leave with one answer
Review the run before starting again. Pick one question that the result answered:
- Did the opening weapon feel clearer at close, medium, or long distance?
- Did focusing one path make its upgrades easier to recognize?
- Which recruit solved a problem you could see?
- Which locked Survivor shows the most useful next objective for your save?
Turn that answer into the next run’s purpose. Test another leader if the opening attack was hard to read. Keep the leader and change one recruit if the opening worked but the full squad did not. Check the locked Survivor’s objective in the complete roster when the next useful experiment depends on that unlock.
Fix a failed run
You took damage while reading the screen
Move toward open ground before collecting a level-up pickup or triggering another decision. Entering the next active moment inside a crowd leaves no room to react.
The attack looked weaker than its record
A Weapon record is not a damage forecast. Missing projectiles, distance, critical hits, player bonuses, enemy defenses, timing, and reload changes all separate stored fields from what reaches a target. Use the record to understand attack shape, then judge the run from what actually lands.
Too many cards looked unrelated
Stop adding new attack families for a few prompts. Improve one effect you can already identify. If no relevant card appears, take the option that fixes the most visible problem rather than waiting for a perfect saved build.
A recruit made the run harder to read
That recruit added more possible weapons and abilities to the choice pool. Keep the leader next run, delay the recruit, and learn one more opening upgrade before adding the second kit.
FAQ
Which Survivors are available immediately?
, , and .
Do I aim each attack?
No. Survivors aim and attack automatically. Direct movement, choose upgrades, and decide who joins the squad.
How large can the squad become?
Three Survivors: one leader and two SOS recruits.
Does a higher damage field guarantee an easier first run?
No. Attack shape, distance, reloads, missed projectiles, enemy defenses, and the choices offered later all affect what the squad can deliver. Learn one visible path before changing several parts at once.
What counts as a successful first run?
You should leave knowing what one opening weapon did, which choice improved it, and what you want to change next time. That result is useful even if the run ends early.